We have previously written about a free tool that allows you to remove dead and duplicate bookmarks in the major web browsers (see our post, Remove Dead and Duplicate Bookmark Links in Your Web Browsers). If you mainly use Firefox and only want to check the validity of your bookmarks in Firefox, there is a plugin, called CheckPlaces, that allows you to do this. CheckPlaces also scans for duplicate bookmarks and empty bookmark folders.
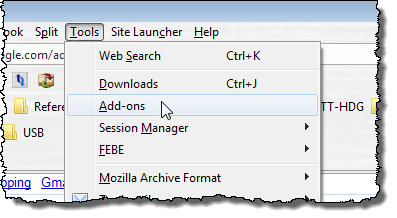
To install CheckPlaces, open Firefox and select Add-ons from the Tools menu.
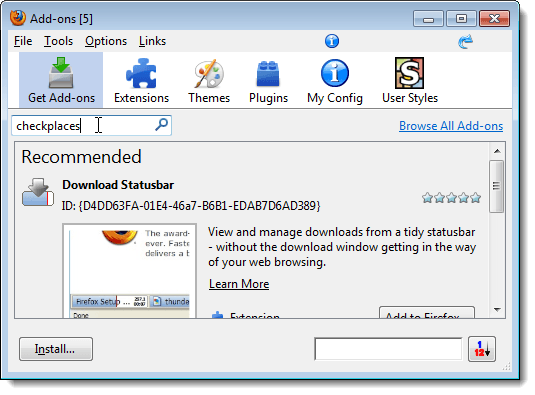
On the Add-ons dialog box, click the Get Add-ons button on the toolbar. Type “checkplaces” (without the quotes) in the search box and press Enter.
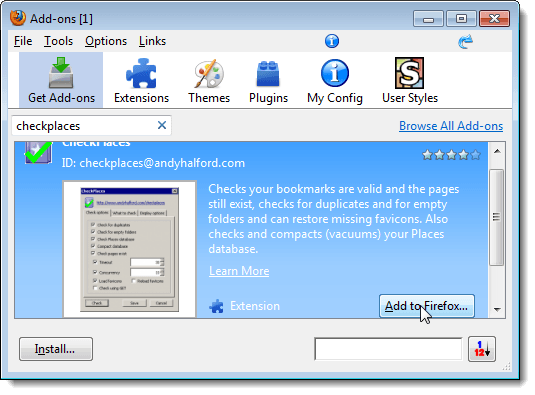
Select CheckPlaces in the list of results and click the Add to Firefox button.
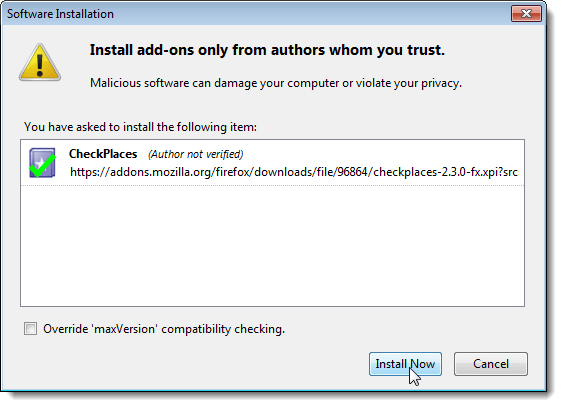
The Software Installation dialog box displays. Click the Install Now button, once the countdown on the Install button is complete, if there is a countdown.
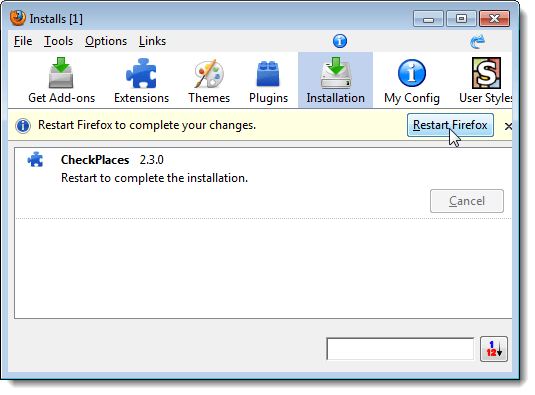
Once the installation is done, the Installation screen displays. Click the Restart Firefox button to complete the changes.
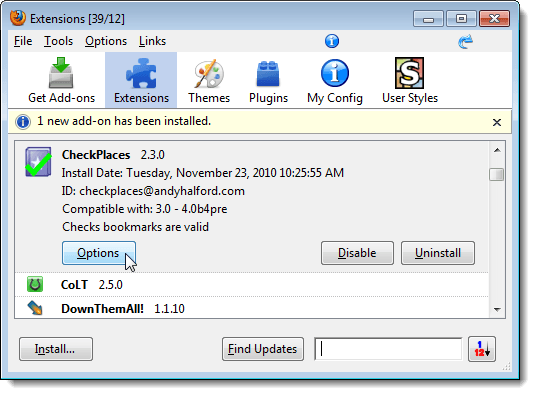
When Firefox restarts, the Extensions screen displays again. Select CheckPlaces in the list of extensions, and click the Options button.
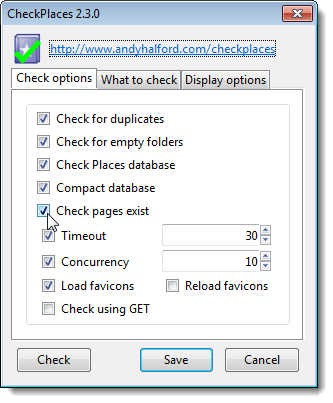
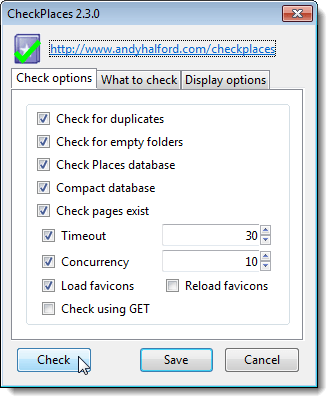
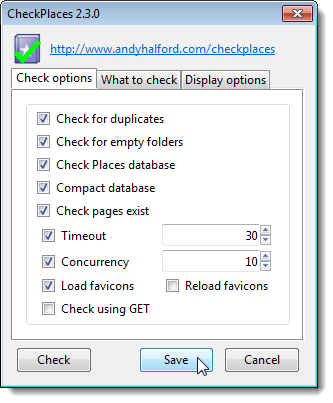
The CheckPlaces dialog box displays with the Check options tab active. Select check boxes for the items you want to check. Some of the options are described here. You can always click the link at the top of the CheckPlaces dialog box to visit the CheckPlaces website for more information.
Select the Check for duplicates check box to look for bookmarks that have the exact same location.
The Check for empty folders option looks for folders that do not contain any bookmarks, but may contain only separators or other empty folders. If you have previously run CheckPlaces and deleted some bookmarks, possibly emptying folders, this option may be useful.
The Check pages exist option checks each unique bookmark by trying to visit it. This informs you of any old pages that no longer exist.
NOTE: Some web sites may take a very long time to respond (especially if you are going through a proxy/firewall), so you may wish to select the Timeout option to cancel these checks after a certain time you specify in the edit box.
CheckPlaces tries to check all of your bookmarks at the same time. This may swamp some networks causing them to fail, so you may wish to select the Concurrency check box and specify how many bookmarks you wish to check simultaneously in the edit box. However, this will slow down the checking process.
Favicons for websites can often be lost, especially when importing or synchronizing bookmarks with other browsers. Most of them can be restored by selecting the Load favicons option, which searches for and loads favicons for bookmarks that don’t have them.
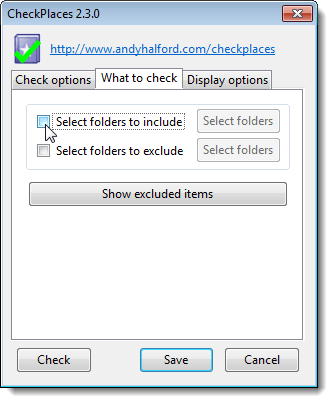
By default, all of your bookmarks are checked, but you may want to only check some of them. The What to check tab allows you to specify which bookmarks to check and which ones to ignore. Select the Select folders to include option to specify which bookmark folders to include in the check. Click the Select folders button to the right of the Select folders to include check box to choose the folders to include.
Select the Select folders to exclude check box if you want to ignore some bookmark folders during the check. Click the Select folders button to the right of the Select folders to exclude check box to choose the folders to ignore.
Click the Show excluded items button to view any pages/folders you may have excluded in previous checks. The list displayed using this button is generated from excluding bookmarks from the CheckPlaces Results dialog box, described later in this post.
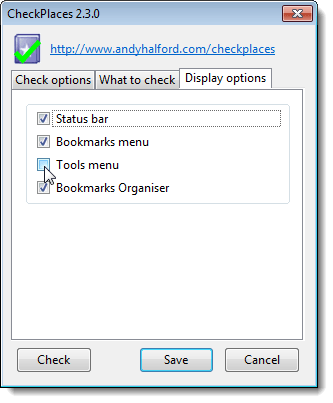
Click the Display option tab to choose exactly where you want the CheckPlaces option to be available within Firefox.
Click the Save button to save your changes and close the CheckPlaces dialog box.
To close the Extensions dialog box, click the X button in the upper, right corner.
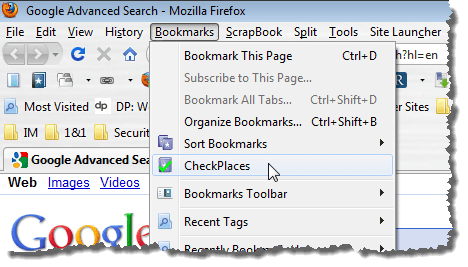
Depending on which options you selected on the Display options tab described above, you can reopen the CheckPlaces dialog box by selecting the CheckPlaces option on the Bookmarks menu, Tools menu, in the Bookmarks Organizer, or by clicking a button on the Status bar.
To check your bookmarks using the settings you specified earlier, click the Check button.
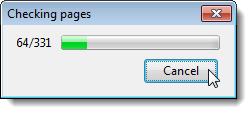
A dialog box displays the progress of the check. If you want to stop the check, click the Cancel button.
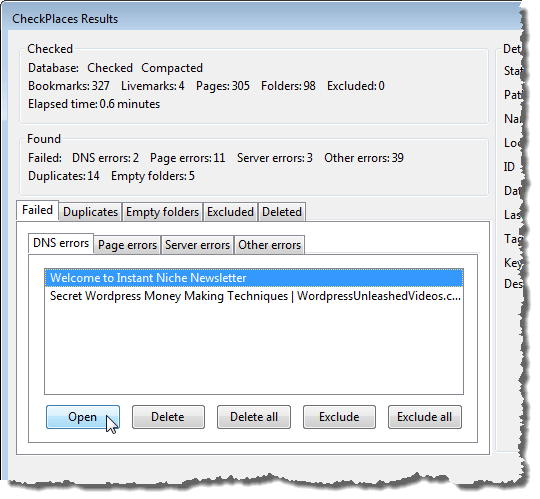
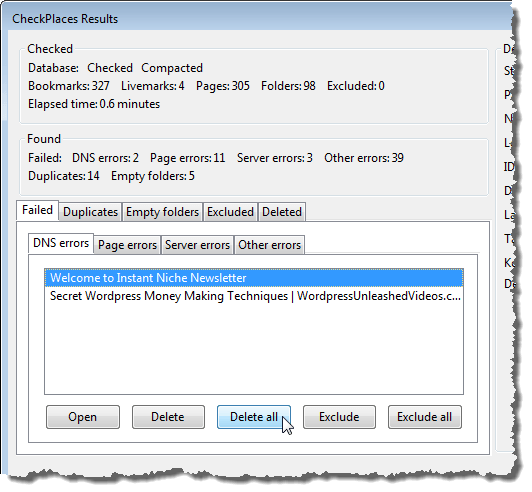
When the check is finished, the CheckPlaces Results dialog box displays. At the top, right of the dialog box, in the Checked box, is a summary of the check showing how many bookmarks were checked, how many livemarks were tested, how many pages were tested, how many bookmark folders were searched, and how many individual pages/folders were excluded along with the time it took to do the check. These numbers may be slightly different than the numbers you may have expected to see. For instance, if there is a bookmark that has two duplicates, only one was checked and the other two are ignored in the total count of bookmarks checked.
The Found box contains the total number for each type of issue found during the check. Below the Found box, are tabs listing the bookmarks that had issues, categorized into the type of errors that were found. You can select a bookmark and click the Open button to try to visit the page yourself.
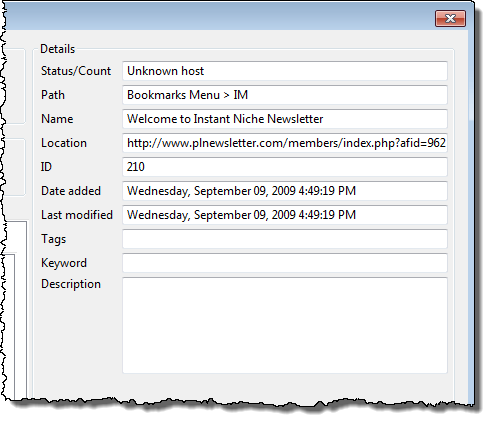
When you select a bookmark, the details for that bookmark are displayed on the right side of the CheckPlaces Results dialog box.
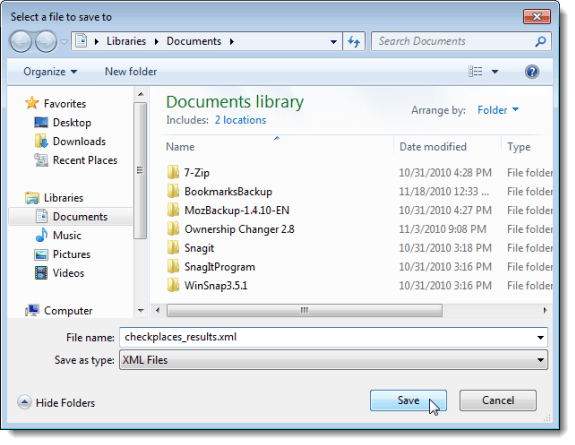
You can save the results of the check in an XML file. To do this, click the Save button.
Navigate to the folder in which you want to save the results file. Enter a name for the file in the File name edit box. Click Save.
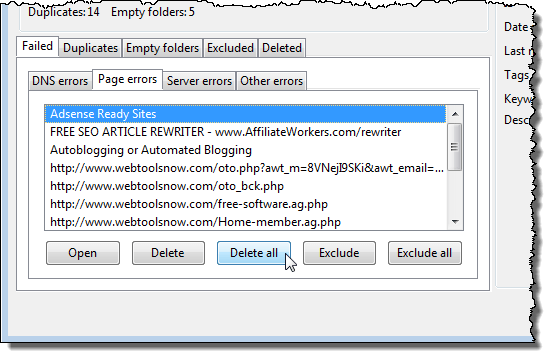
To delete a bookmark that failed the check, click the Failed tab, and then click one of the four subtabs on the Failed tab. Select the bookmark you want to delete and click Delete. To delete all the bookmarks on that subtab, click Delete All.
If you don’t want to delete specific bookmarks, you can select those bookmarks and click the Exclude button. This keeps the selected bookmarks, but prevents them from being checked the next time you perform a check. To exclude all the bookmarks listed on a subtab, click the Exclude All button.
NOTE: Any bookmarks excluded using the Exclude button or the Exclude All button on the CheckPlaces Results dialog box, can be viewed and re-included on the CheckPlaces dialog box, using the Show excluded items button on the What to check tab, before performing another check.
You can delete and exclude bookmarks on any of the four subtabs on the Failed tab.
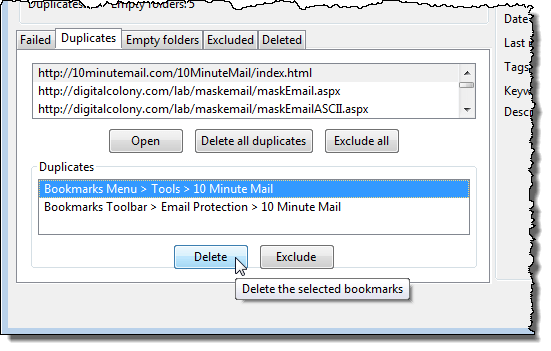
To view bookmarks that have duplicates, click the Duplicates tab. Select a bookmark in the top list to view its duplicates in the bottom list. The bottom list shows you where the bookmarks are located in the menus and toolbars. You may want to keep a bookmark on the toolbar but not on the menu, for example. To do this, you can Delete or Exclude selected duplicates in the bottom list, as pictured below. If you want to delete all duplicates or exclude all duplicates from being checked next time, select the URL in the top list and click the Delete all duplicates button or the Exclude all button, respectively. Use the Open button to view the URL in a browser.
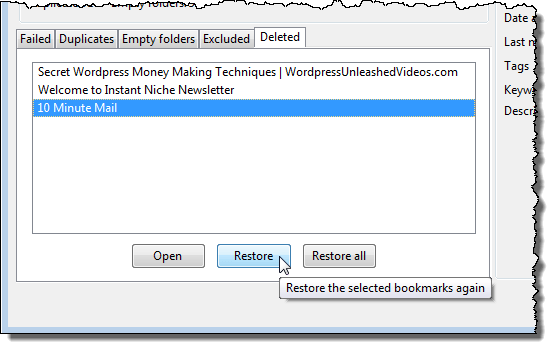
When you delete bookmarks from any of the other tabs, they are not immediately deleted. You can view a list of your deleted bookmarks by clicking the Deleted tab. Select any bookmarks you don’t want to delete and click Restore to prevent them from being deleted. You can restore all deleted bookmarks by clicking the Restore all button.
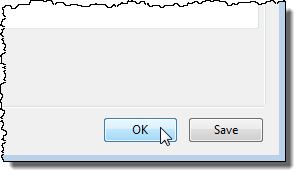
Once you are finished analyzing the results and deleting or excluding bookmarks from the results, click OK to close the CheckPlaces Results dialog box.
NOTE: Be sure you really want to delete the bookmarks selected to be deleted before closing the CheckPlaces Results dialog box.
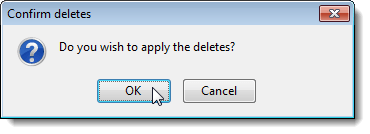
You are given another chance to avoid deleting bookmarks on the Confirm deletes dialog box that displays. If you are sure you want to delete the selected bookmarks, click OK.
You are returned to the CheckPlaces dialog box. Click Save to close the dialog box and save whatever changes you made to the settings. To close the dialog box without saving changes to the settings, click Cancel.
For more information about using the CheckPlaces extension, see the CheckPlaces home page at


No comments:
Post a Comment