If you have several windows open at once in Ubuntu or if you compare items in separate windows often, such as products in web pages or source code if you are a programmer, you may want to install the Gnome applet X Tile.
It allows you to select a number of windows and tile them in different configurations. You can also define keyboard shortcuts and panel launchers for specific window configurations.
NOTE: X Tile can also be a standalone application that can be installed in KDE.
Download X Tile from
http://www.giuspen.com/x-tile/#downl.
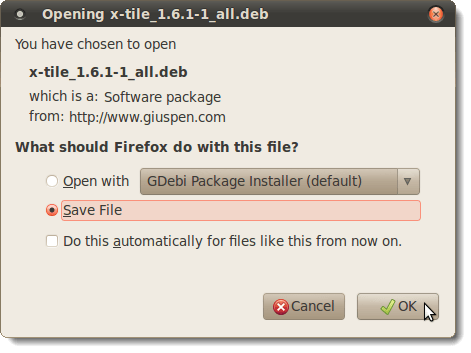
Be sure you download the debian/ubuntu package.

When the Opening dialog box displays, select Save File and click OK.
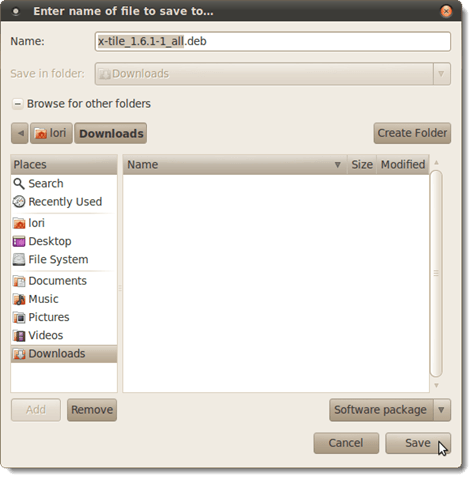
On the Enter name of file to save to dialog box, navigate to the folder where you want to save the .deb file and click Save. We saved the file in the Downloads folder.
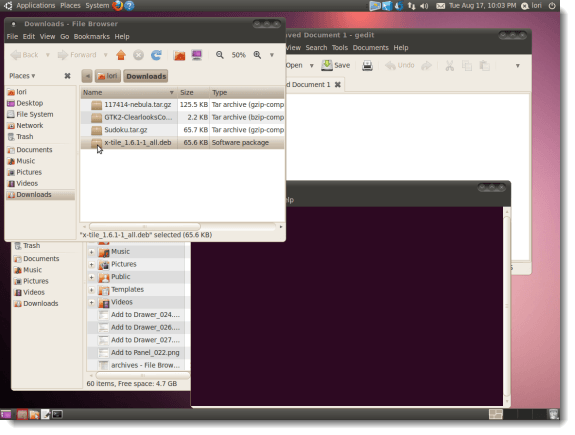
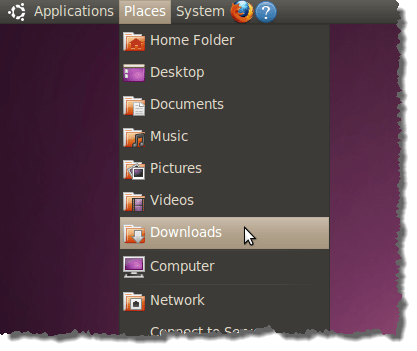
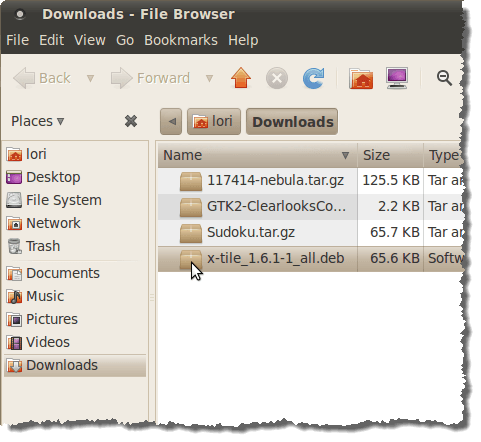
From the Places menu, select an option to open the File Browser and navigate to the folder where you saved the .deb file, as needed. We selected Downloads since that will take us directly to where we saved the file.
To start the installation, double-click on the filename in the File Browser.
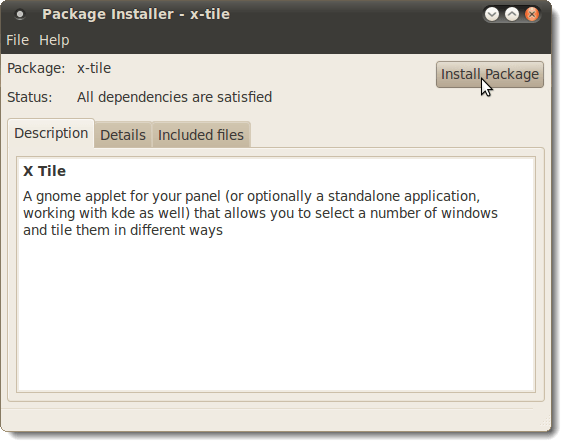
The Package Installer dialog box displays. Click the Install Package button.
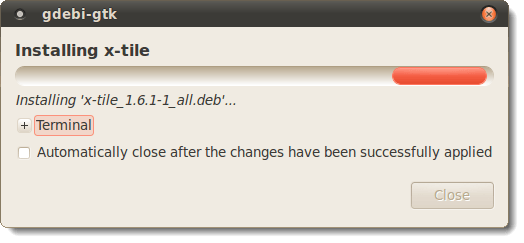
A dialog box displays the progress of the installation.
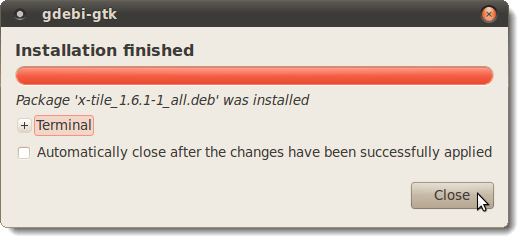
When the installation is finished, click the Close button to close the dialog box.
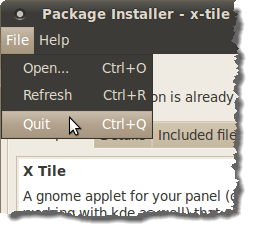
Close the Package Installer dialog box by selecting Quit from the File menu.
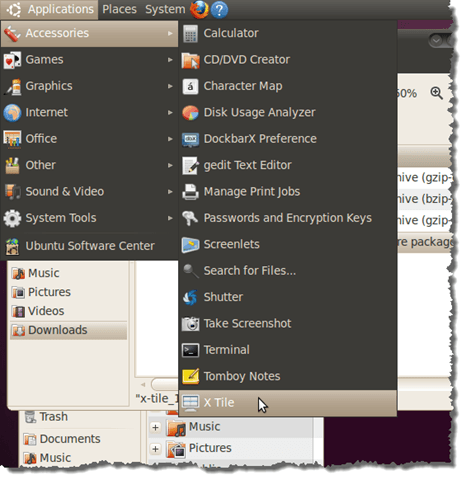
Open X Tile by selecting Accessories | X Tile from the Applications menu.
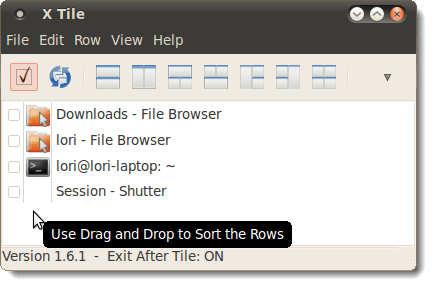
The X Tile dialog box displays containing a list of all the windows currently open on your desktop. Select the windows you want to tile and click a tile button on the toolbar that corresponds to the arrangement you want.
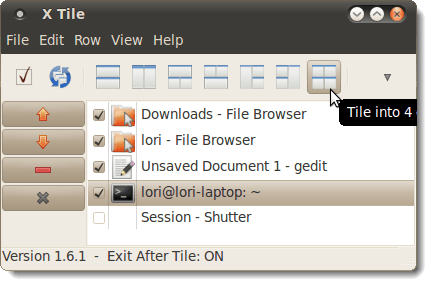
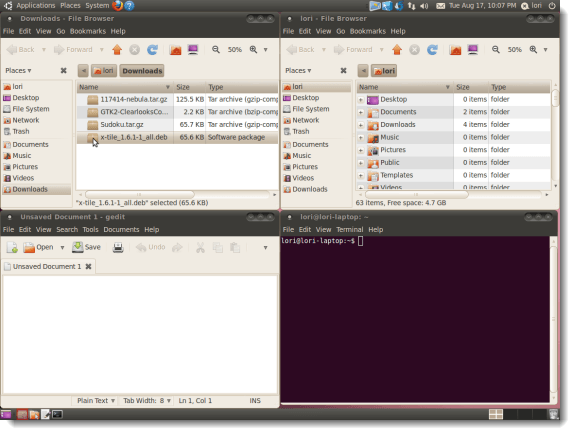
We chose to tile our four windows in a Quad arrangement.
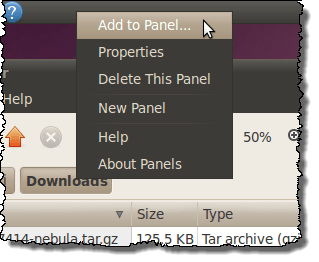
You can add X Tile to a panel for easier access. To do this, right-click on a panel and select Add to Panel from the popup menu. We chose to add X Tile to our top panel.
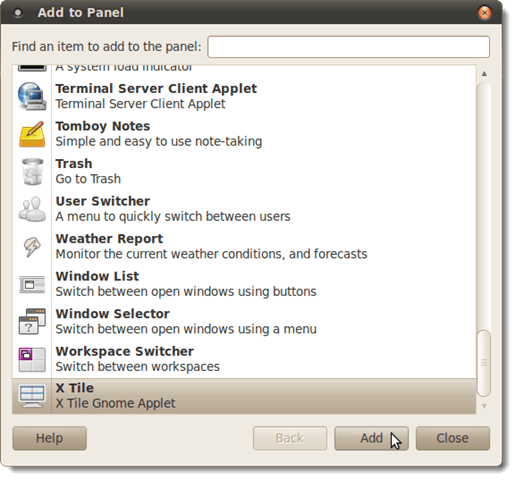
On the Add to Panel dialog box, select X Tile in the list of items and click Add.
NOTE: Do not close the Add to Panel dialog box yet.
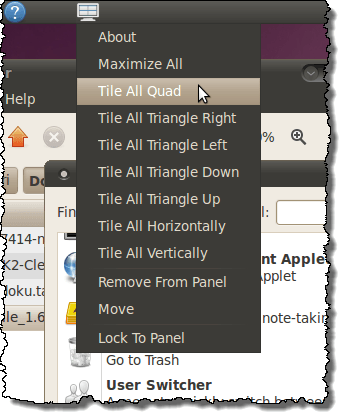
Left-click on the launcher on the panel to open the X Tile main window. To quickly access tiling options, right-click on the launcher and select an option from the popup menu.
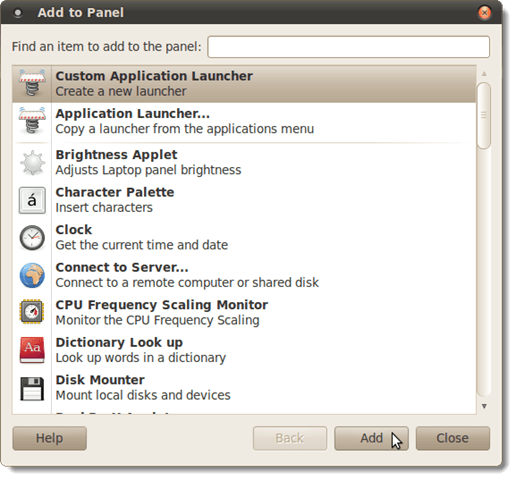
You can also add launchers to your panel for specific tiling configurations. For this example, we will add a launcher for Quad configuration. Return to the Add to Panel dialog box. Select Custom Application Launcher from the beginning of the list and click Add.
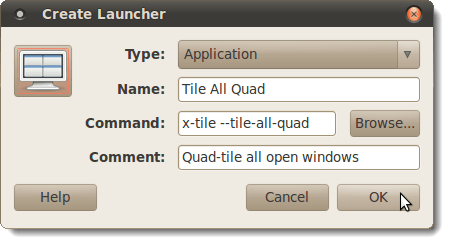
The Create Launcher dialog box displays. Enter the following information:
- Name: Tile All Quad
- Command: x-tile –tile-all-quad
- Comment: Quad-tile all open windows
NOTE: In the Command edit box, there should be two dashes before “tile-all-quad.”
To change the icon for the launcher, click the icon button on the dialog box.
![]()
The Choose an icon dialog box displays. Navigate to the /usr/share/pixmaps folder and select x-tile.svg from the list. Click Open.
![]()
The new icon displays on the icon button. Click OK.
Click Close on the Add to Panel dialog box.

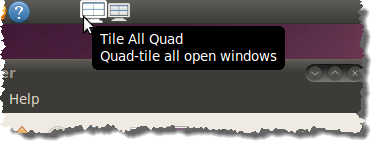
There is now a Tile All Quad launcher on the panel next to the X Tile launcher.
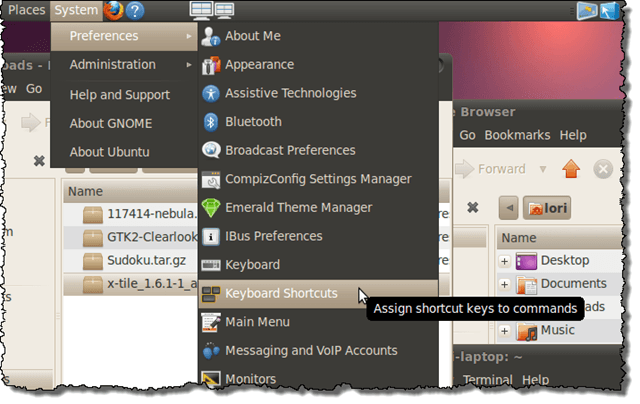
We will also add a keyboard shortcut to tile all windows in the quad configuration. To do this, select Preferences | Keyboard Shortcuts from the System menu.
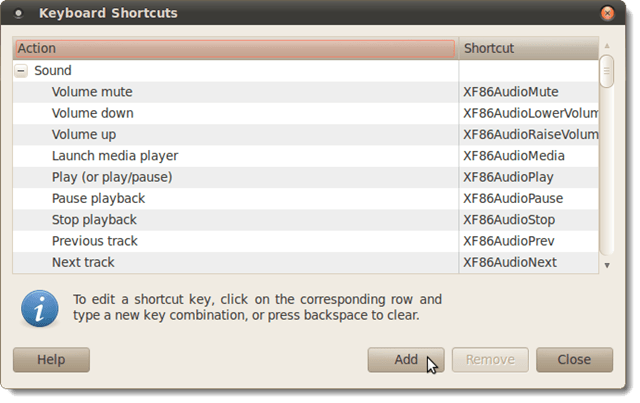
On the Keyboard Shortcuts dialog box, click Add.
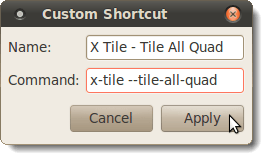
The Custom Shortcut dialog box displays. Enter the following information and click Apply.
- Name: X Tile – Tile All Quad
- Command: x-tile –tile-all-quad
NOTE: Again, there should be two dashes before “tile-all-quad.”
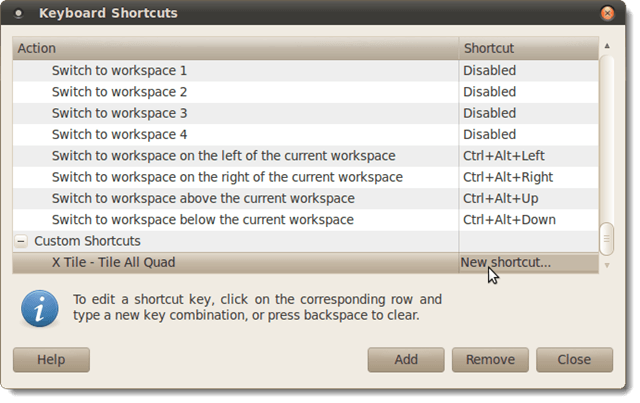
In the Shortcut column, “Disabled” displays for the new shortcut. Click on “Disabled” to change it to “New shortcut.”
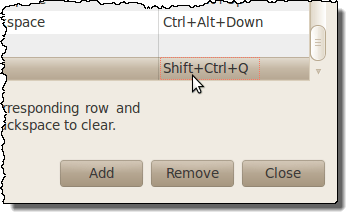
Type the desired keyboard shortcut for the new Tile All Quad action. We used Shift + Ctrl + Q.
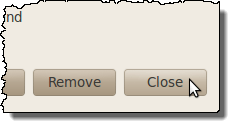
Click Close to close the Keyboard Shortcuts dialog box. Now, you can use either the launcher on the panel or the new keyboard shortcut to tile all open windows in the quad configuration.
The following is a list of the commands for X Tile. You can apply these to custom application launchers and/or keyboard shortcuts in the same way we have described for the x-tile –tile-all-quad command.
NOTE: The “triangle” commands are for arranging three windows. Two of the windows are placed in the direction indicated in the command. For example, the x-tile –tile-all-triangle-up command puts two of the windows on top and the third on the bottom.
- x-tile –help (lists all the command line options)
- x-tile –without-panel (x-tile main window)
- x-tile –tile-all-vertically (skip main window, directly tile all opened windows vertically)
- x-tile –tile-all-horizontally (skip main window, directly tile all opened windows horizontally)
- x-tile –tile-all-triangle-up (skip main window, directly tile all opened windows triangle-up)
- x-tile –tile-all-triangle-down (skip main window, directly tile all opened windows triangle-down)
- x-tile –tile-all-triangle-left (skip main window, directly tile all opened windows triangle-left)
- x-tile –tile-all-triangle-right (skip main window, directly tile all opened windows triangle-right)
- x-tile –tile-all-quad (skip main window, directly quad tile all opened windows)
- x-tile –maximize-all (skip main window, directly maximize all opened windows)
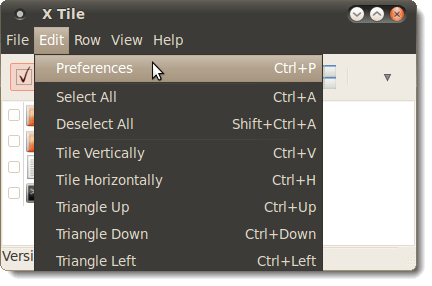
To access options for X Tile, select Preferences from the Edit menu.
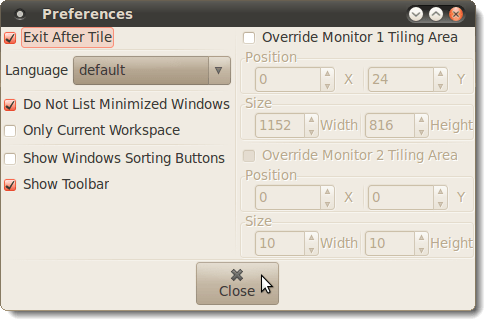
The Preferences dialog box displays. If you don’t want the X Tile main window to close after selecting a tiling option, click the Exit After Tile check box so there is no check mark in it. Select the Do Not List Minimized Windows check box if you don’t want to tile minimized windows.
By default, X Tile tiles windows in all workspaces. If you only want to tile the windows in the current workspace, select the Only Current Workspace check box.
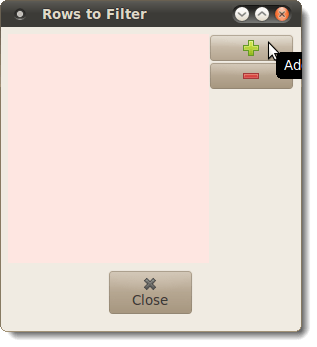
To define a blacklist of windows to never show in the list of available windows in the X Tile main window, select Filter from the File menu.

The Rows to Filter dialog box displays. Click the Add button (with the plus sign).
The Add Row dialog box displays. Select an open window from the list and click OK.
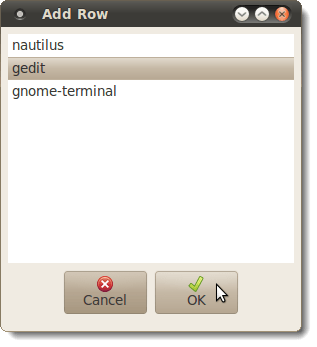
The window is added to the list on the Rows to Filter dialog box. Click Close.
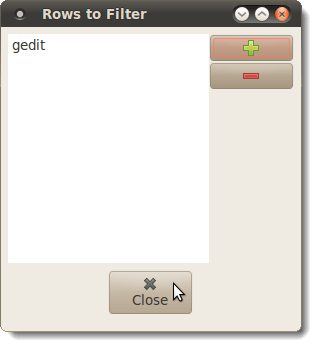
You will notice that the selected window is no longer in the list of open windows in the X Tile main window.
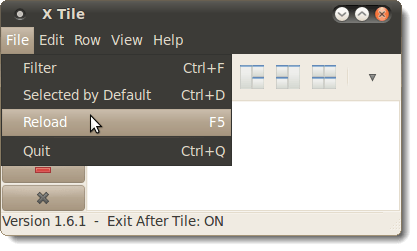
If you add open windows to your desktop while X Tile is open,, you can refresh the list of open windows in the X Tile main window by selecting Reload from the File menu.
If you work with a lot of windows in Ubuntu often, X-tile is a useful utility for organizing your desktop and improving your productivity.

No comments:
Post a Comment