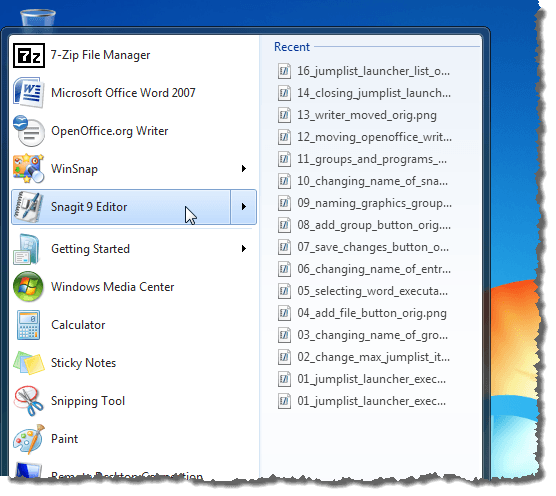
Jump lists are a new feature in Windows available in Windows 7. Basically, the Recent Items list has been split up into separate lists for each program on the Start menu and the Taskbar. Below is an example of a jump list for a program on the Start menu. To see the jump list for a program on the Start menu, hover your mouse over the program on the Start menu.
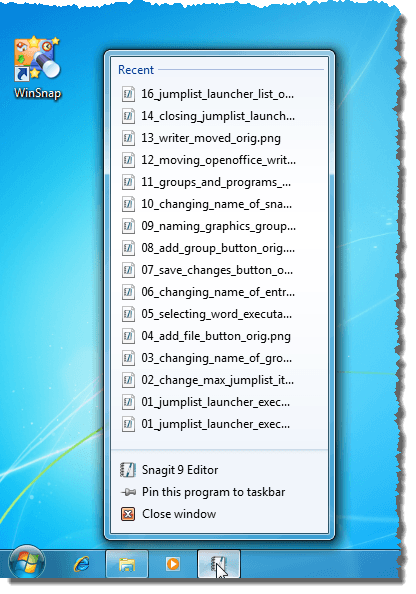
The following image displays a jump list for the same program on the Taskbar. To view the jump list for a program on the Taskbar, right-click on the program’s icon.
Jump lists contain different items depending on the program. The jump list for Internet Explorer 8 displays frequently-viewed websites, whereas the jump list for OpenOffice Writer displays recently-opened documents.
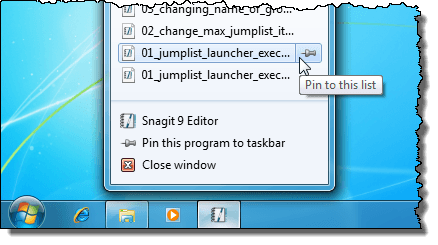
You can also specifically an item onto a jump list, if you want a specific website, document, etc. to display in your jump list. To make the item stick to the jump list even when you open other documents, pin it to the jump list by clicking the thumbtack icon. Pinning a jump list item works the same way for the Taskbar and for the Start menu.
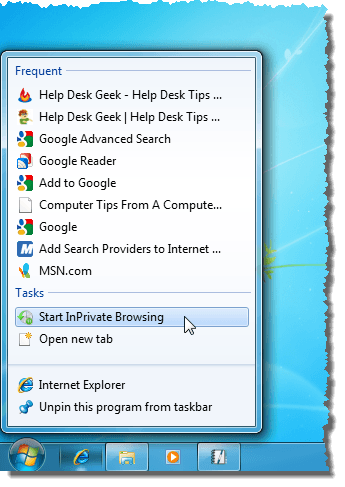
Jump lists may also provide quick access to tasks appropriate for the currently selected program. The following image displays tasks on the jump list for Internet Explorer 8 on the Taskbar.
There is a way to use jump lists to create a custom, grouped application launcher. The free utility Jumplist-Launcher allows you to add multiple applications to a single Taskbar icon, which you cannot do in Windows 7 natively.
Download Jumplist-Launcher from
http://en.www.ali.dj/jumplist-launcher/.
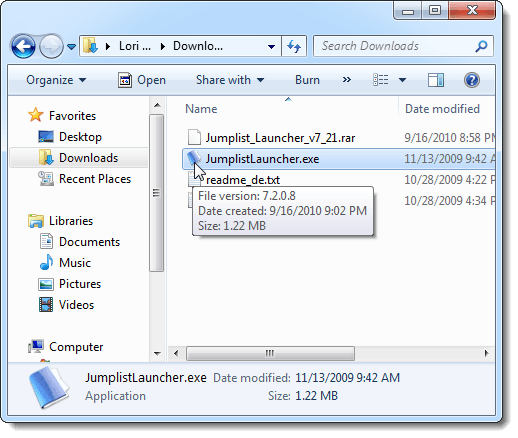
Jumplist-Launcher does not need to be installed. Simply unzip the downloaded .rar file and run the JumplistLauncher.exe file.
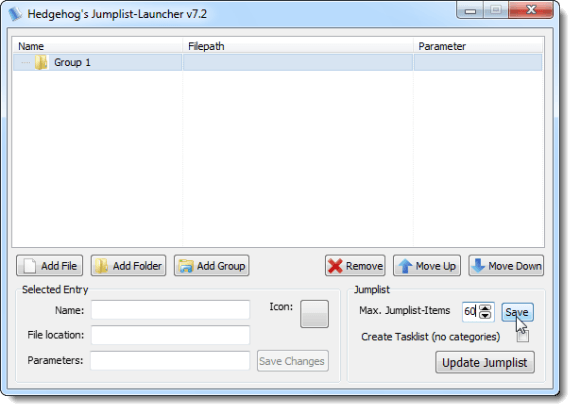
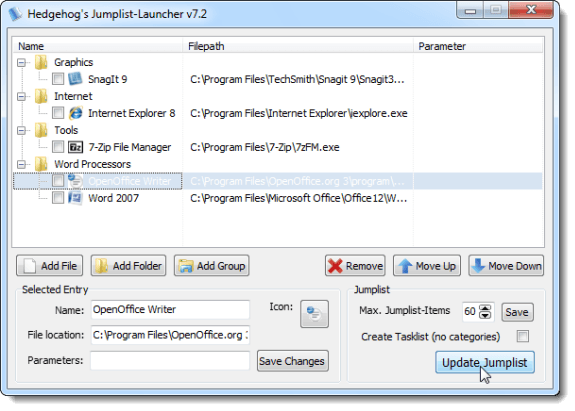
You can have up to 60 items in your jump list launcher. Initially, Jumplist-Launcher sets the Max. Jumplist-Items to 10. To change it to 60, highlight the value in the Max. Jumplist-Items edit box and enter 60. Click the Save button.
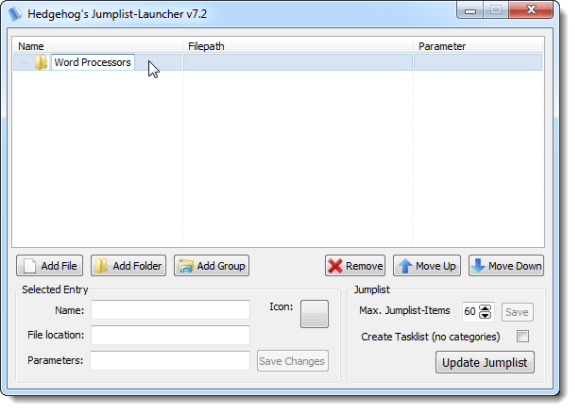
To start creating your groups and adding programs to them, double-click on the Group 1 label so the text is highlighted. Type the desired name for the group. Press Enter to accept the new name. We created a group for Word Processors.
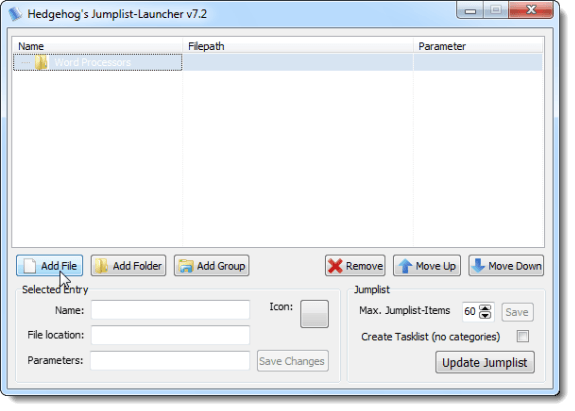
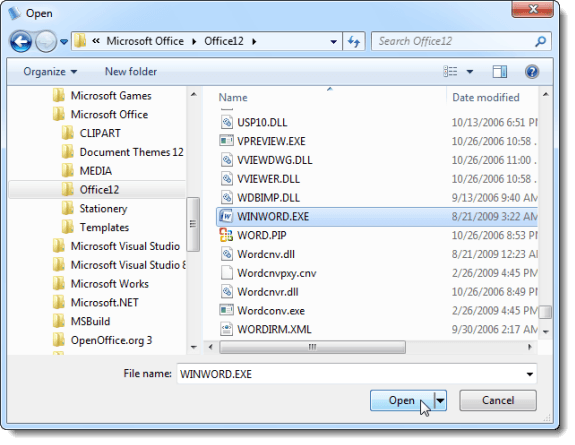
To add a program to the new group, click the Add File button.
On the Open dialog box, navigate to the location of the desired program’s executable (.exe) file. Select the file and click Open. We added Word 2007 to the Word Processors group.
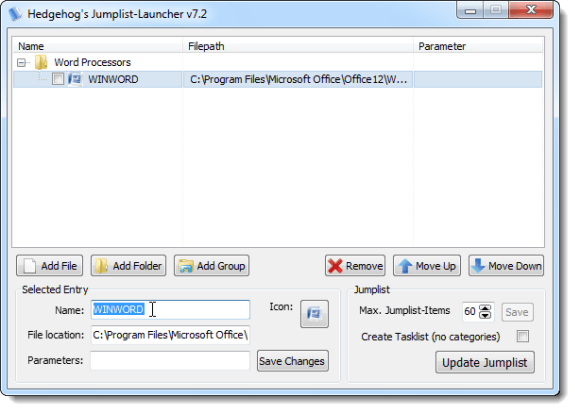
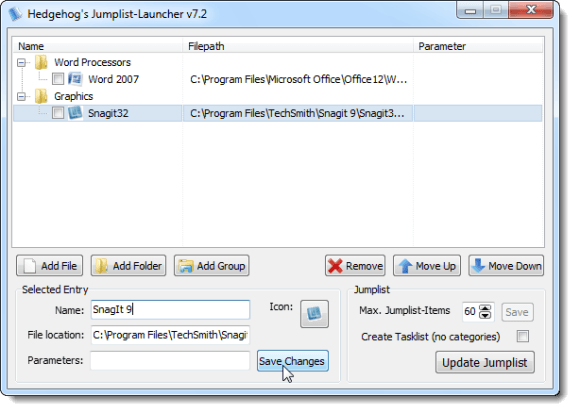
The text in the Name box defaults to the name of the executable file before the extension. To change this, highlight the text in the Name edit box and type the desired name.
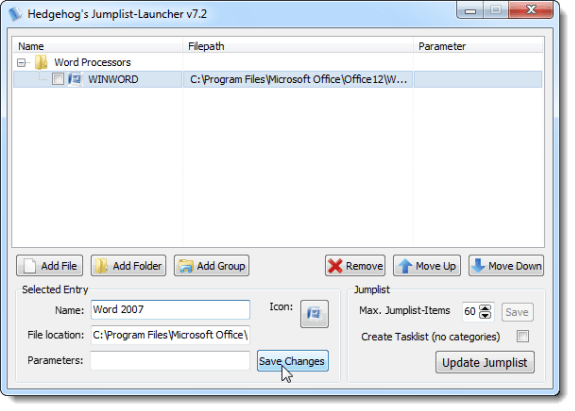
To save your changes to the selected entry, click the Save Changes button.
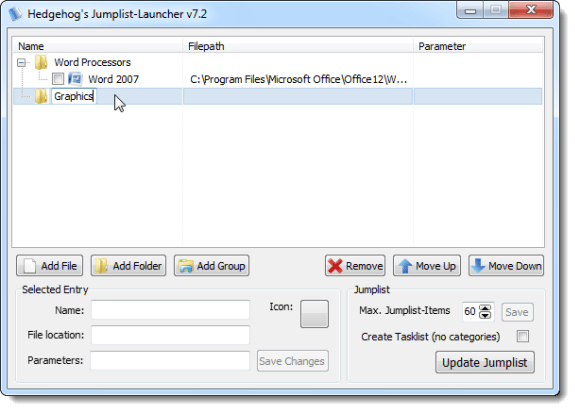
To add another group, click the Add Group button.

Change the name of the group as described earlier, pressing Enter to accept the new name. We added a group for Graphics programs.
Add a program to the new group as discussed earlier when we added Word 2007 to the Word Processors group. We added SnagIt 9 to our Graphics group.
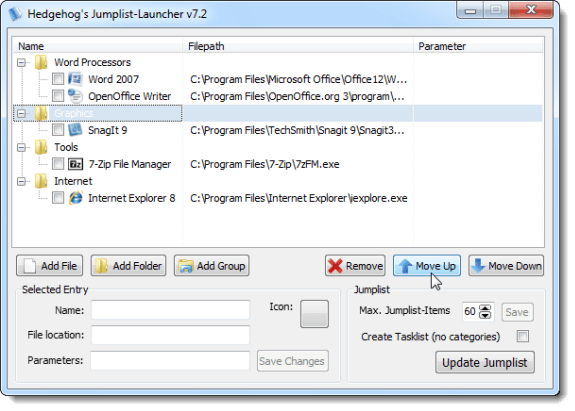
Continue to add groups and programs until you have added all that you want in your custom jump list launcher. Below is the structure of our jump list launcher.

You do not have to accept the default order in which the groups and programs were added. For example, if you want to sort your groups and programs alphabetically, select a group and click the Move Up button to move it up in the list of groups.
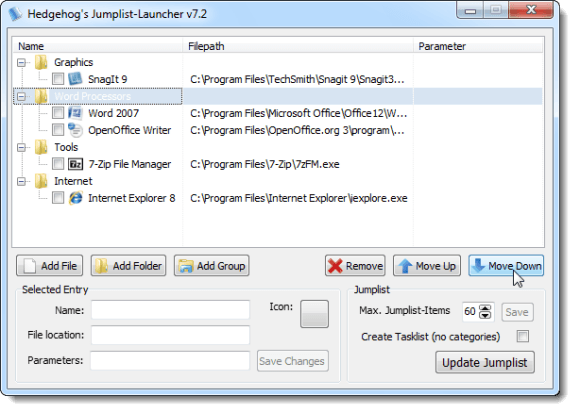
Select a group and click the Move Down button to move a group down in the list.
You can also sort the programs within each group. Select a program and click the Move Up button or Move Down button to move it within the list in its group.
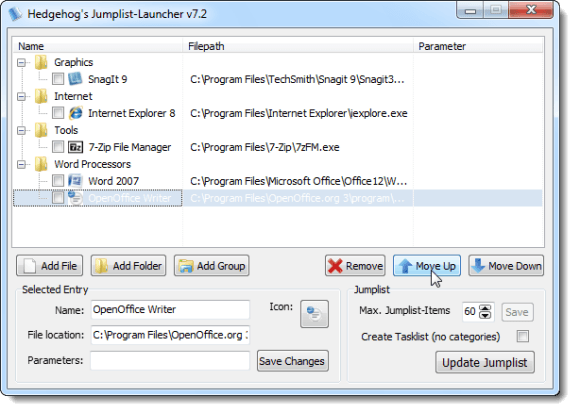
Once you have added all the groups and programs you want in your jump list launcher and you have organized the groups and programs, click the Update Jumplist button to set your changes.
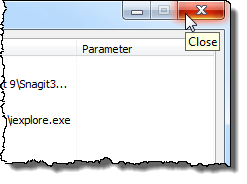
To close the Jumplist-Launcher program, click the X button in the upper, right corner of the window.
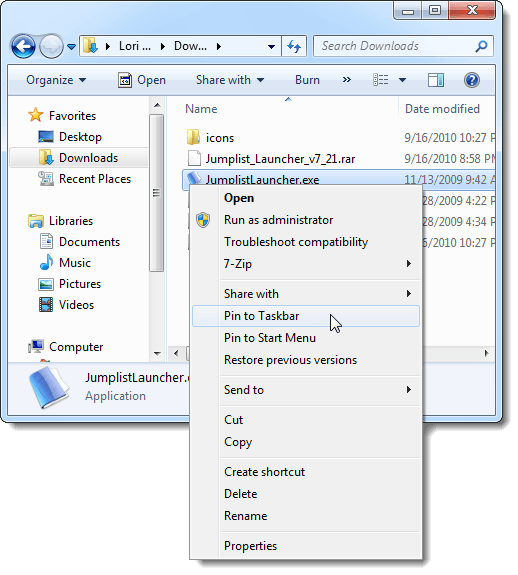
To use your jump list launcher on the Taskbar, navigate to the directory containing the JumplistLauncher.exe file. Right-click on the JumplistLauncher.exe executable file and select Pin to Taskbar from the popup menu.
To access your new custom launcher, simply right-click on the Jumplist-Launcher icon on the Taskbar. You will see the list of programs you added in the groups you defined.
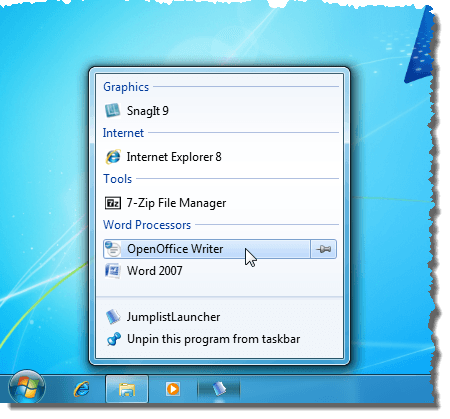
The JumplistLauncher item on your jump list launcher opens the Jumplist-Launcher configuration program you just used to set up your launcher. You can also left-click on the Jumplist-Launcher icon on the Taskbar to open the configuration program. If you no longer want your launcher on the Taskbar, right-click on the Jumplist-Launcher icon on the Taskbar and select Unpin this program from taskbar from the launcher menu.
Jumplist-Launcher provides an easy way to create a categorized, custom launcher menu that is similar to the Start menu. However, you cannot organize your Start menu items into categories without the use of a third-party tool. Using Jumplist-Launcher leaves your Start menu alone, providing you with different ways of accessing your programs.

No comments:
Post a Comment